RGB split vs. block displacement for glitch artwork
Choose RGB Split for colored fringes around existing edges. Choose Block Displacement when you want rectangular patches to interrupt the image’s structure. They can work together, but changing color and changing alignment solve different visual problems.
The examples below use the same source at the same dimensions. This makes the treatment easier to compare than two unrelated photographs.
Use the same source for both trials
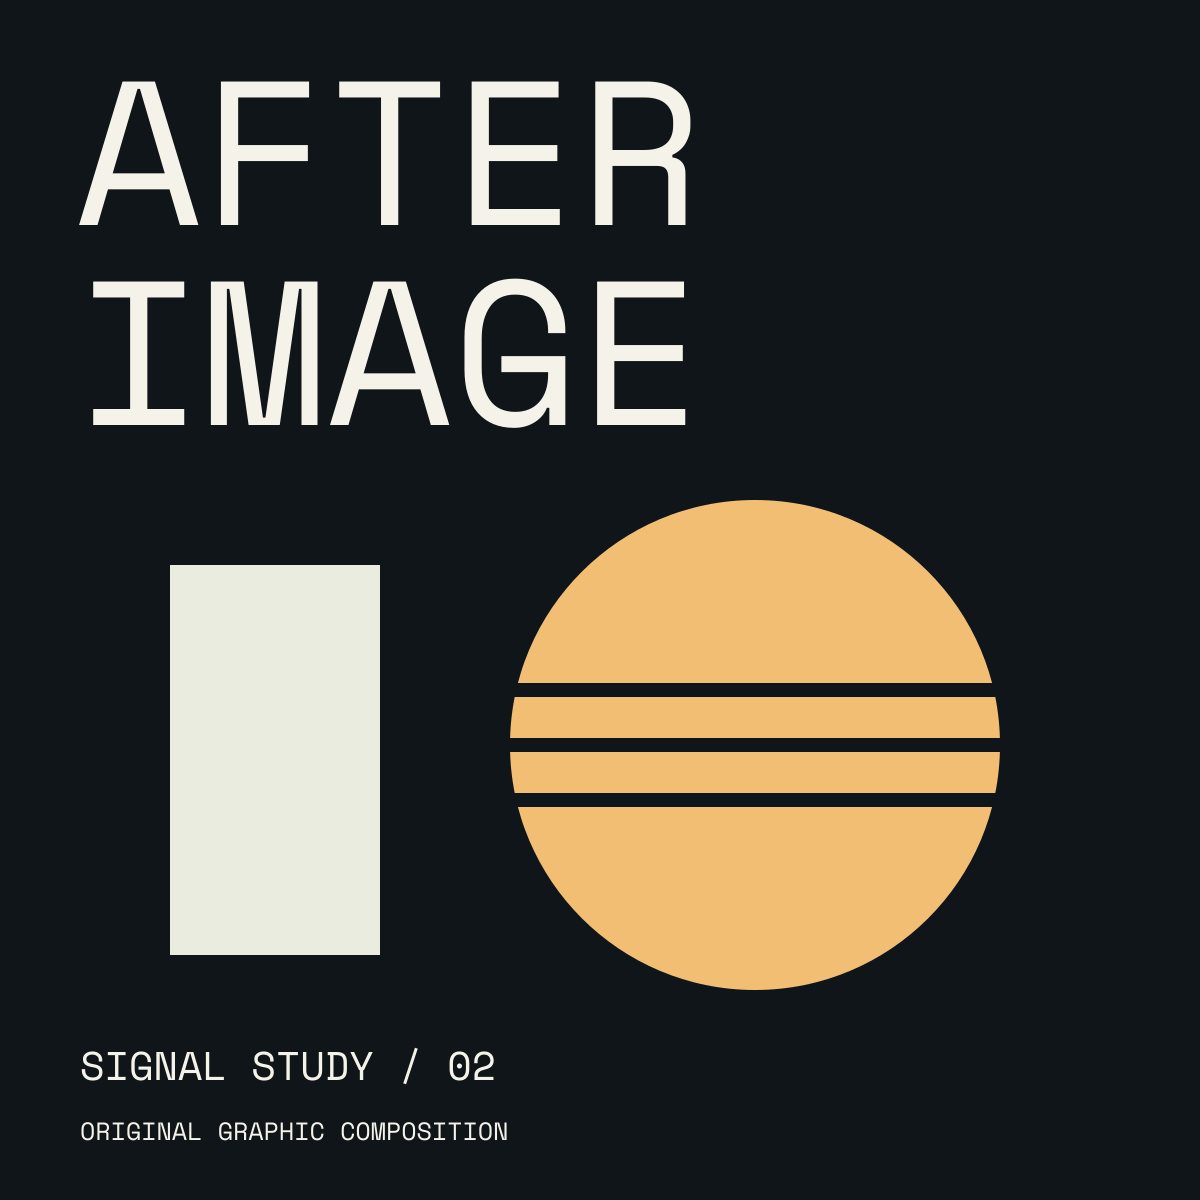
Download the comparison source PNG
(1200 × 1200). Its large letters, straight rectangle, and curved amber edge give each effect something different to reveal.

For each trial, load the source into a fresh demo, turn the effect’s Animate switch off, and keep playback paused at time 0. Keep the source framing and size unchanged.
RGB Split: colored edge tension
Open RGB Split and set Amount to 0.015. The headline gains colored edges while its overall placement remains recognizable. Look at the vertical sides of the pale rectangle: the separation is easier to see there than inside a flat region.

Artfkt’s RGB Split shifts red and blue horizontally and keeps green aligned. It has no separate vertical offset or independent per-channel position controls. Read the RGB Split guide for its current range and default.
Block Displacement: broken alignment
Open Block Displacement on the original source, not the RGB export. Set Displacement 4.50%, Coverage 0.25, Block size 7.00%, Seed 37, and Mix 100%.

Block Displacement alone — the same patch settings used in the cover-art guide.
The circle and lettering now have small interruptions where patches sample a shifted part of the image. Their original colors remain recognizable. This differs from Macroblock, which flattens detail into block colors. See the Block Displacement guide for its limitations.
Combine them deliberately
Start again with RGB Split at Amount 0.015, then add Block Displacement using the settings above. Turn Animate off on both effects. The second effect now displaces patches of the already color-separated image.

Combination — RGB Split first, Block Displacement second, with both Animate switches off.
Compare the pale rectangle across the three results: RGB Split adds fringes, Block Displacement breaks its boundary into patches, and the combination does both. If the result is too busy, lower Coverage before increasing either effect’s strength. Keep Seed fixed while making that comparison.
Use the poster tutorial to combine colored edges with horizontal slices, or the cover-art workflow to follow displacement with noise. All these studies work on one image layer in the free demo; Artfkt for Mac adds multiple image layers and the full collection library.
How this comparison was made
The source graphics were made for these exercises with AI assistance and Space Mono lettering. The treatments shown are actual Glitch demo exports, captured with animation off and playback paused at the start. Settings describe these examples, not permanent defaults; rendering can vary by device.
Make something unexpected
Keep exploring in Artfkt.
Bring all collections and multiple image layers together in one Mac studio. Build a look, shape its motion, and save your next starting point.